Teaching English abroad with ILP? You might be teaching Kitchen to cute kiddos — here's some ideas to help you plan those lessons.
Kitchen was always one of my favorite lessons, mostly because the kids were usually so excited to see what I came up with. So actually the doing the lesson is the easier part, but coming up with ideas was a bit trickier.
But don't worry, I've got tons here already thought out for you. And there's lots of variations so that you can make it work for you and your class.
After you teach a Kitchen class, I'd love to hear how it went so we can share your ideas with other volunteers! Comment down below or post on #ilpkitchen to share pics and you might see your post shared on ILP's Instagram.
A Quick Note About Teaching Kitchen
There Might Be Some Restrictions
Some of the schools we work with might have restrictions on what you can make with the kids. For example, many schools (and parents) prefer that you use healthier options instead of loading them up with sugar. Your ILP Head Teacher will let you know if this is the case for your school when you arrive, or if you're wondering if you should pack food items for your classes you can email them or your ILP rep ahead of time.
*Quick note for ILP volunteers: You may or may not have access to or budget for every lesson idea that you come up with for kitchen. So my advice is to be flexible, but the good news is that it's really easy to adapt with some creativity!
What To Pack + What To Buy There
It'll be pretty easy to buy lots of what you want for Kitchen classes in country, especially the fresh items. But most often the budget is pretty small and so you have to work with what you've got. Hot tip: when you're asking for donation supplies for your lessons, don't forget to mention that making treats is part of that! Most alumni would tell you that it's so helpful to bring treats and things that are either hard to find in country or are more expensive outside of America.
Even if you are able to purchase it there, things that are easy to fit in your bag are a great idea to bring: sprinkles, mini marshmallows, brownie and cake mixes, peanut butter, Nutella, food coloring, cookie cutters in all different shapes, brown paper bags, paper plates, paper cups, plastic silverware, toothpicks, kabob sticks, etc.
Using Fruit
A lot of schools that ILP works with (and the student's parents) prefer that the snacks you make in kitchen are on the healthier side. I loved using fruit in my lesson plans because it was usually a big hit all around, and not just for the kids.
Another side note: know that some fruits are going to be more expensive than others. Berries are often an example of that. Instead of going with the fruit that you typically love or that just sounds good, go with what's local and common for the country you're in! It might be way easier on the budget for you to go with apples instead of mangos. Or use raisins instead of very expensive blueberries.
Kabobs
Get a variety of fruit (oranges, bananas, grapes, apples, etc), peel them, slice them, and slide them onto a skewer stick. It's pretty self explanatory, but the process can be stretched out to really fill your lesson time up!
They'll be like little rainbows on a stick — you can even have the kiddos make a dipping sauce (yogurt, or peanut butter or even Nutella) to make this Kitchen activity even more delicious.
Another fun way to spice it up? This blogger used cookie cut-outs to make shapes from fruit before sliding them onto the kabob stick. Some fruits will be much easier to cut out into a shape than others, so maybe that can even be part of your lesson! Ask the kids to help you pick which fruits will work best to hold their shape. Maybe an apple is really tough to cut because it's hard ... and maybe a grape is too small ... but a watermelon works great. There's lots to talk about with the kids there.
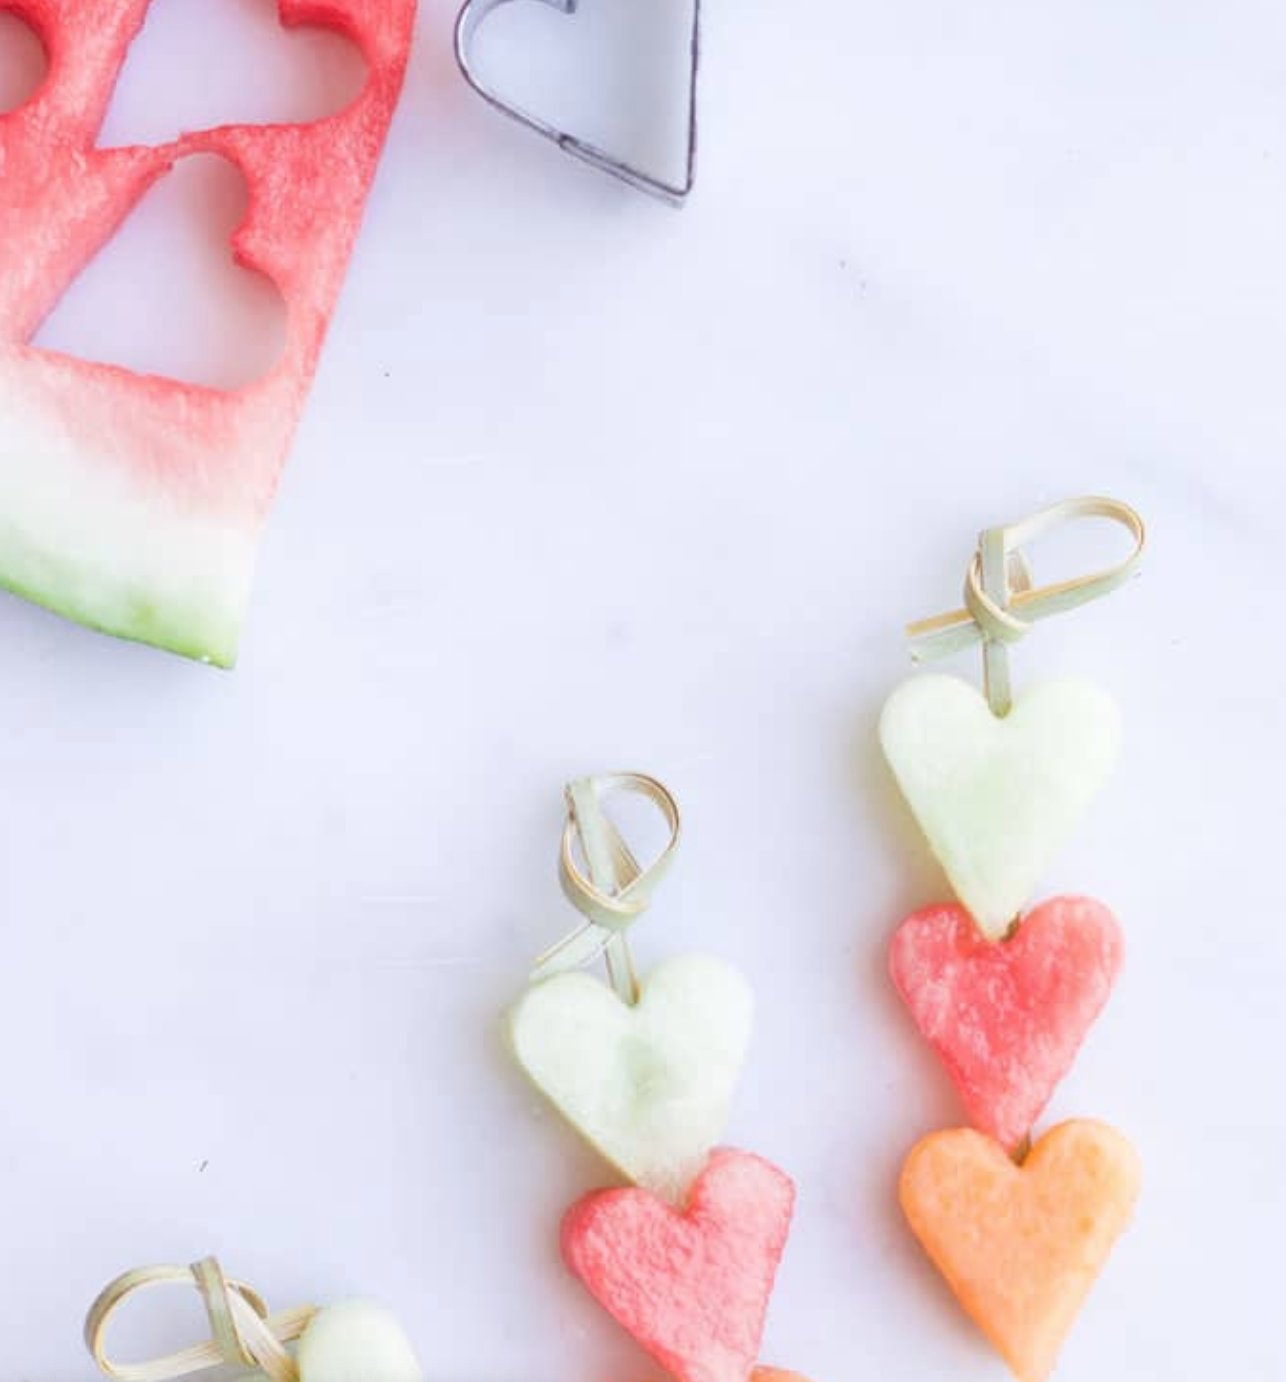
Image via Healthy Little Foodies
Fruit Smiles
The youngest kids will think these are so clever. Slice up apples, spread peanut butter on one side and stick mini marshmallows to the peanut butter to act as the teeth. Cute, easy and so delicious. Here's a recipe with photos, but you can get really creative here with how you set it all up. Maybe you even slide tooth picks into the top with a grape or raisins on the other end for eyes.
Banana Sushi
Another creative idea that's really easy to set up. Grab a banana, a tortilla, peanut butter, and Nutella if you have it. Lay your tortilla flat, spread on your PB + chocolate, then place your peeled banana on top. Roll it up tight, cut into bit sized chunks, and presto — you've got sushi rolls!
This site has directions and photos to help you out. And as always, take liberty to add or take away any ingredients you want. It would be yummy with chopped up nuts, a drizzle of honey, smashed up cookies, etc.
Smoothies + Fun Drinks
Do you have access to a blender? If so, don't overlook yummy drinks! If you can get your hands on any kind of juice and Sprite or 7 Up — just add fruit and ice and you can make endless options that are pretty hard to mess up.
Here's a couple recipes that make really bright and colorful drinks which the kids would love.
Fruit and Yogurt Cups
The beauty of this activity is that you really can use whatever you have on hand. There's no one way to do this, you can take just about anything sweet and it'll be a success.
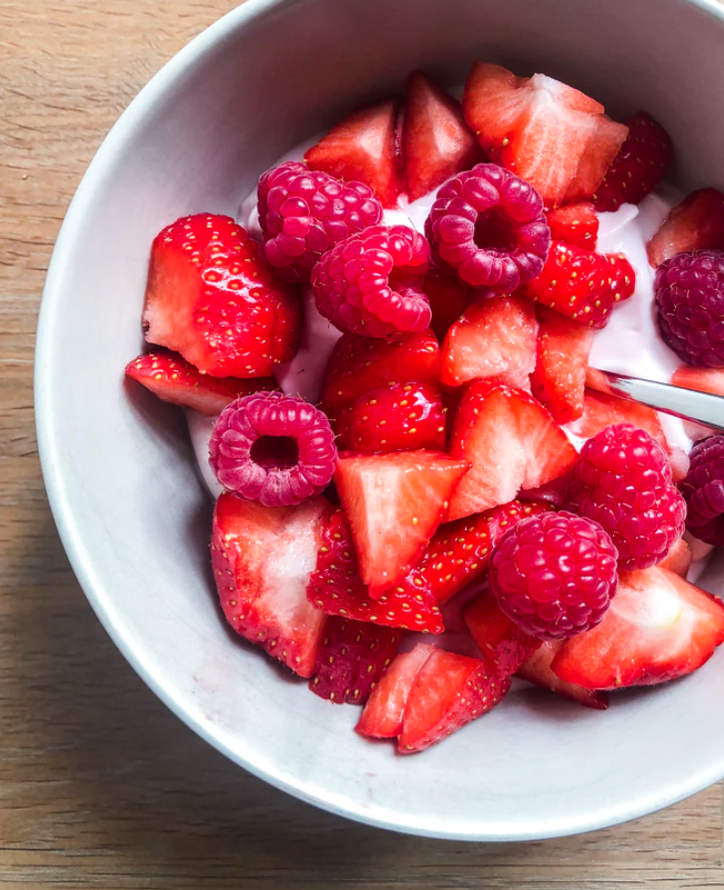
I like to start with yogurt as the bottom layer, and then go from there with layers of different items. Try fruit, crushed up graham crackers or cookies, cereal, nuts ... you name it. Top it all off with a drizzle of something sweet like syrup or honey. Really the skies the limit with this one. This post has some great ideas!
You could get really creative with how you set up this activity for the kids. Maybe you have all the ingredients in a bag and the kids take turns pulling out the item that will go in your parfait next, and just put them in the cup in that order. I love this idea because it helps you keep everything under control.
Using Veggies
Ants On A Log
Classic right?
We've all had it: celery with peanut butter spread across and raisins on top (the ants are the raisins!). You can always go with the original recipe or switch things up by spreading cream cheese on the celery and adding other toppings like cranberries.
This blogger has lots of different ideas for variations that look really fun!

Image via Healthy Little Foodies
Veggie Wraps
Grab tortillas, some sort of creamy spread like cream cheese or hummus, and a variety of veggies you could cut up (like carrots, celery, tomatoes, and broccoli. You get the gist, put it all together and wrap it up for a yummy treat. If you don't have tortillas, you could also use crackers and make little sandwiches.
This site has some fun ideas where you could make everything into a face or a piece of art before you roll it all up.
Build A Masterpiece
"Don't play with your food" doesn't apply here. It's pretty fun to get ingredients that the kids can build/piece together to create something artistic.
They can always eat it when you're done, but the point is more to have fun putting it all together and seeing the results. Create a face with shaved carrot strands for the hair, orange wedges as the smile, baby tomatoes as the nose, and olives as the eyes. Or make caterpillars with grapes for the body, and little antennas with pretzel sticks. Just do an image search on Google for "fun veggie snacks for kids" and you'll find endless ideas!
This blogger has even more ideas to pick from (or even turn this into a little no-bake pizza!).
Using Sweets + Peanut Butter
These ones are always a fan favorite and I love doing activities like this on a Friday as a special treat.
Muddy Buddies
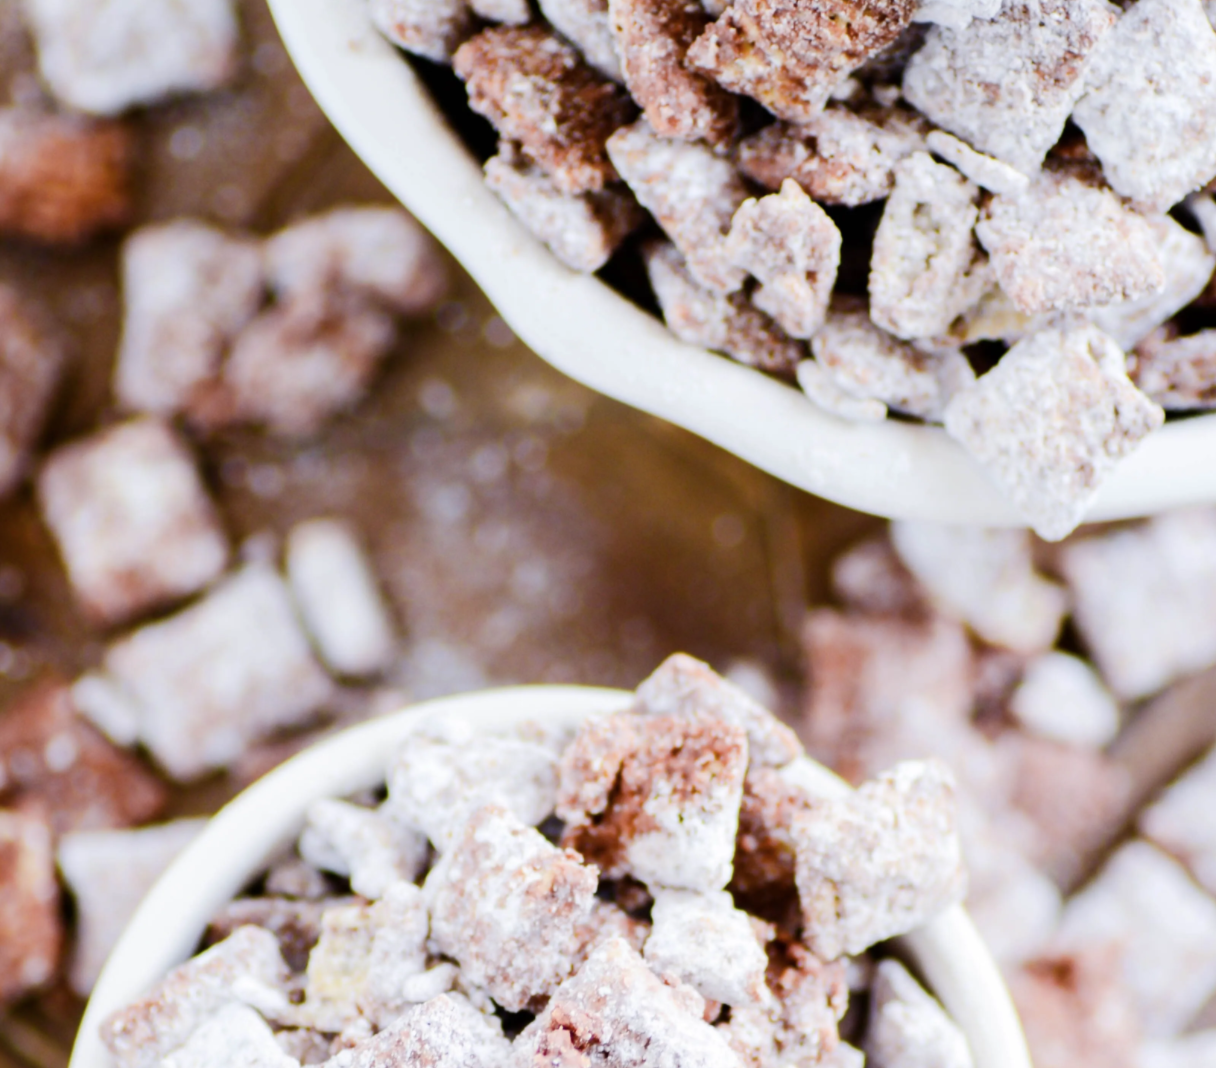
I'm a major fan of making Muddy Buddies (also known as Puppy Chow). Trust me, the kids love these.
If you're not familiar with them, it's basically pouring a bunch of yummy things into a gallon ziplock bag (think Chex Mix, peanut butter, chocolate chips, powdered sugar and butter), shaking and stirring it up real good so that everything gets mixed, and then chowing down. It's all pretty easy.
You can get really creative with what ingredients you use and there's a million variations on Pinterest. This article has a good basic recipe as well as suggestions of different ingredients you could use.
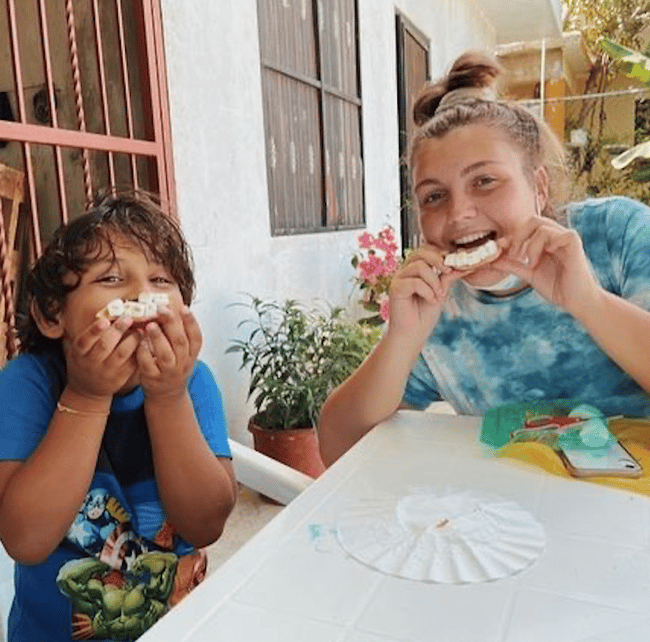
When I was teaching in Mexico, I did this activity for one of my Kitchen lessons and it was so much fun. But the best part? The following day one of my students came to class with a note carefully written on in English by her mother asking if I would write the recipe for her. My student loved it so much that she had gone home and raved about it to her mom. Seriously so cute, I'll never forget that.
Quick tip: things can get real messy real fast if you're not careful about keeping all the ingredients under control. If you have a class of eight 5 year olds that are all grabbing at your sugary treats, it can get chaotic.
Oh and the kids love mixing everything together in the bag, just be careful that the bag doesn't pop open and spill everywhere! You might want to double up the bag you're using for extra support. Fill everything into a bag, then add a second bag the opposite way (so that the 1st bags opening is at the bottom of the second bag). If you don't have zip locks, you could also easily use things like brown paper bags or tupperware. You might be tempted to let the kids shake up their own individual bags, but I'd steer clear of that with the younger kids. Instead it's probably safer to have one big bag that you split at the end.
Peanut Butter Sandwiches
A total classic that your kids might not have seen before (PB and J is pretty American!). All you need is bread, peanut butter and jelly.
But there's totally room to get creative here. Mix it up by using cookie cutters to make the sandwiches into shapes. Or use honey or fruit instead of jelly. Add in mix-ins like sprinkles or peanuts or M&M's — make it fun!
Trail Mix
Personally I'm not really a major fan of trail mix until someone adds in all the yummy treats. You could definitely keep this to a healthier version if you're teaching at a school that has requested that, but if you're able to make it more fun, I say go for it.
Use ingredients like various nuts, popcorn, M&M's, pretzels, mini marshmallows, dried fruit or other small candies. Get help "mixing" all these ingredients together to keep the class involved. Put all these goodies into a big baggie and shake it up before pouring it into individual bags or cups. Yum!
Another option? You could gather as many options as you can, and let the kids choose for themselves how much they want of each item. Give everyone a small ziplock bag, pull the items out one at a time and talk about whether they like that one or not, and how much they want poured into their bag. Then go through each one, shake up the bags at the end, and they've got a little treat to eat or take home.

Ready to learn more about how you can teach English abroad?
International Language Programs is a non-profit based out of Utah — we set up opportunities for groups of American, college-age volunteers to live abroad, travel together, and help kids learn English! The best part is that you aren't required to have a degree or any experience; we have a unique teaching methodology which we'll train you on. It's a great way for young adults to gain real life experience ... oh and there's the added perk of getting to travel the world with new friends while you're at it.
Get all your questions answered by talking to an ILP representative:

