I'm definitely on board with and love the bleaching trend right now. And turns out my ILP sweatshirt hanging in my closet was the perfect piece to do it with.
This was seriously such a fun project. It only took me about 20 mins, and then all I had to do was wait a little bit longer to let it soak in and then wash. I was wearing my new sweatshirt just a few hours after I started!
It's super easy to do.
Supplies Needed
The best part about this project is that you probably already have these things at home!
- — Bleach (I used concentrated, but any will likely work. Need about 1 cup)
- — Spray bottle
- — Rubber bands (about 3-4 will do)
- — Garbage bag
- — Gloves
- — Your navy blue ILP sweatshirt*
*I also tried bleaching my other ILP gear like my green sage sweatshirt (which I also looooove) and several of the t-shirts (the blue one, the gray one, and the coral one) and this blue sweatshirt was the only that got any results! The other ones you couldn't even see any bleach ... or if you could see where I had bleached the shirt it was so faint that it just looked like faded stains (not cute). From my Googling, the only thing I can figure is that some materials are just way more bleach resistant than others (who knew?). The navy blue sweatshirt worked like a charm though.
If you don't have a blue ILP sweatshirt yet, you can order it online right here!
If you want to try other clothes you have, I say go for it! Obviously make sure they're ones that you won't be devastated if it doesn't work out because this is a total experiment and it works differently each time, and looks differently on every material.
Step 1 : Get Ready
Because the bleach is so strong, I like to do this project outside in the fresh air. I took a garbage bag and cut it so that it could lay flat in one large piece, then laid my sweatshirt on top of it. That made it so I wasn't getting any bleach on my grass (plus it made for super fast clean up). If you want you could also easily do this in your sink or your bathtub, my recommendation would be just pick a room where you can open some windows so you can avoid breathing in the bleach as much as possible.
A lot of tutorials say that if you're using concentrated bleach you should dilute it (say about half water + half bleach, or 1/4 cup water + 3/4 cup bleach). I tried that as well as just full bleach with no dilution and honestly didn't notice much of a difference. Play around with it, but for my tutorial's sake I'm going to say no dilution needed.
Pour about a cup of bleach into your spray bottle. Then grab all your materials and head outside.
Step 2 : Bundle Up Your Sweatshirt
If you've ever tie dyed before you know there's a million ways to do this step and they all get different results. This doesn't need to be perfect or exact, but the idea is that you're just getting your sweatshirt bunched into a ball, securing with a few rubber bands.
I like the method of laying your sweatshirt flat, pinching it in the middle, and then twisting it until you get sort of flat, twister pancake (that's the technical term). And then I held it into place with 3 rubber bands, arranged so that it had sections, almost like slices of a pizza.
It's really hard to describe, so just watch this video to see what I mean. Honestly, this doesn't need to be perfect at all. Random is good here.
Step 3 : Bleach It Up
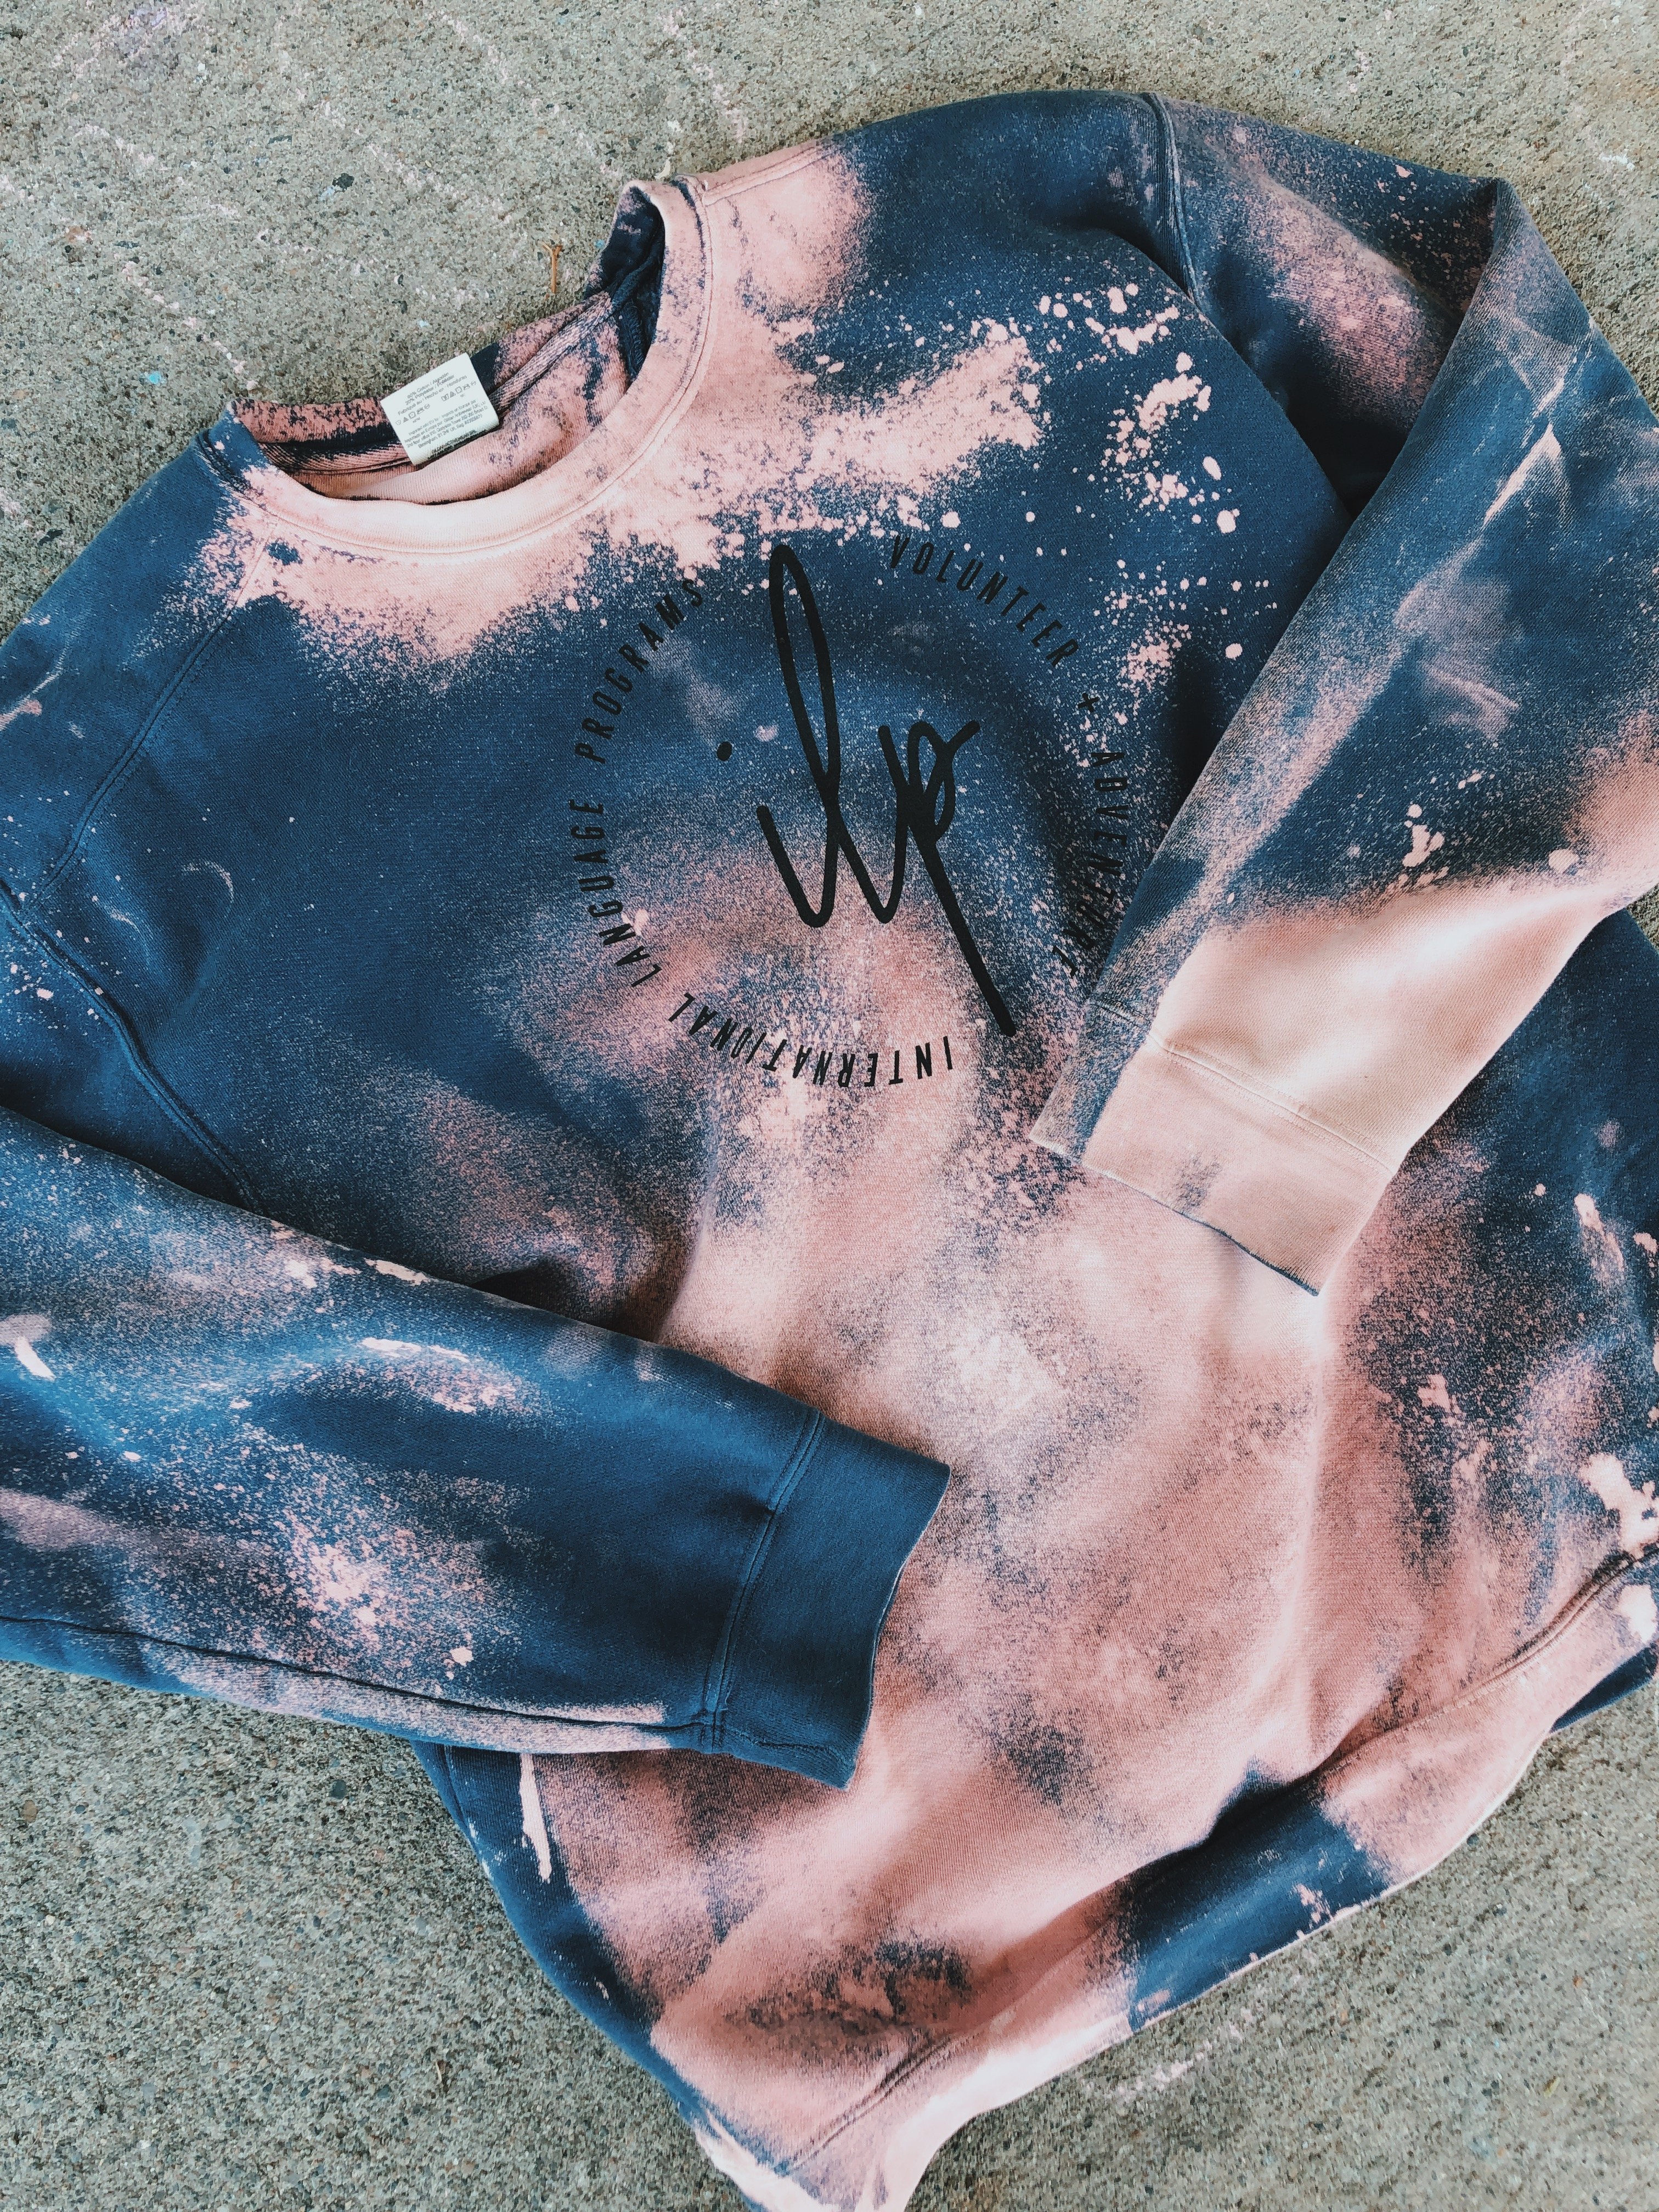
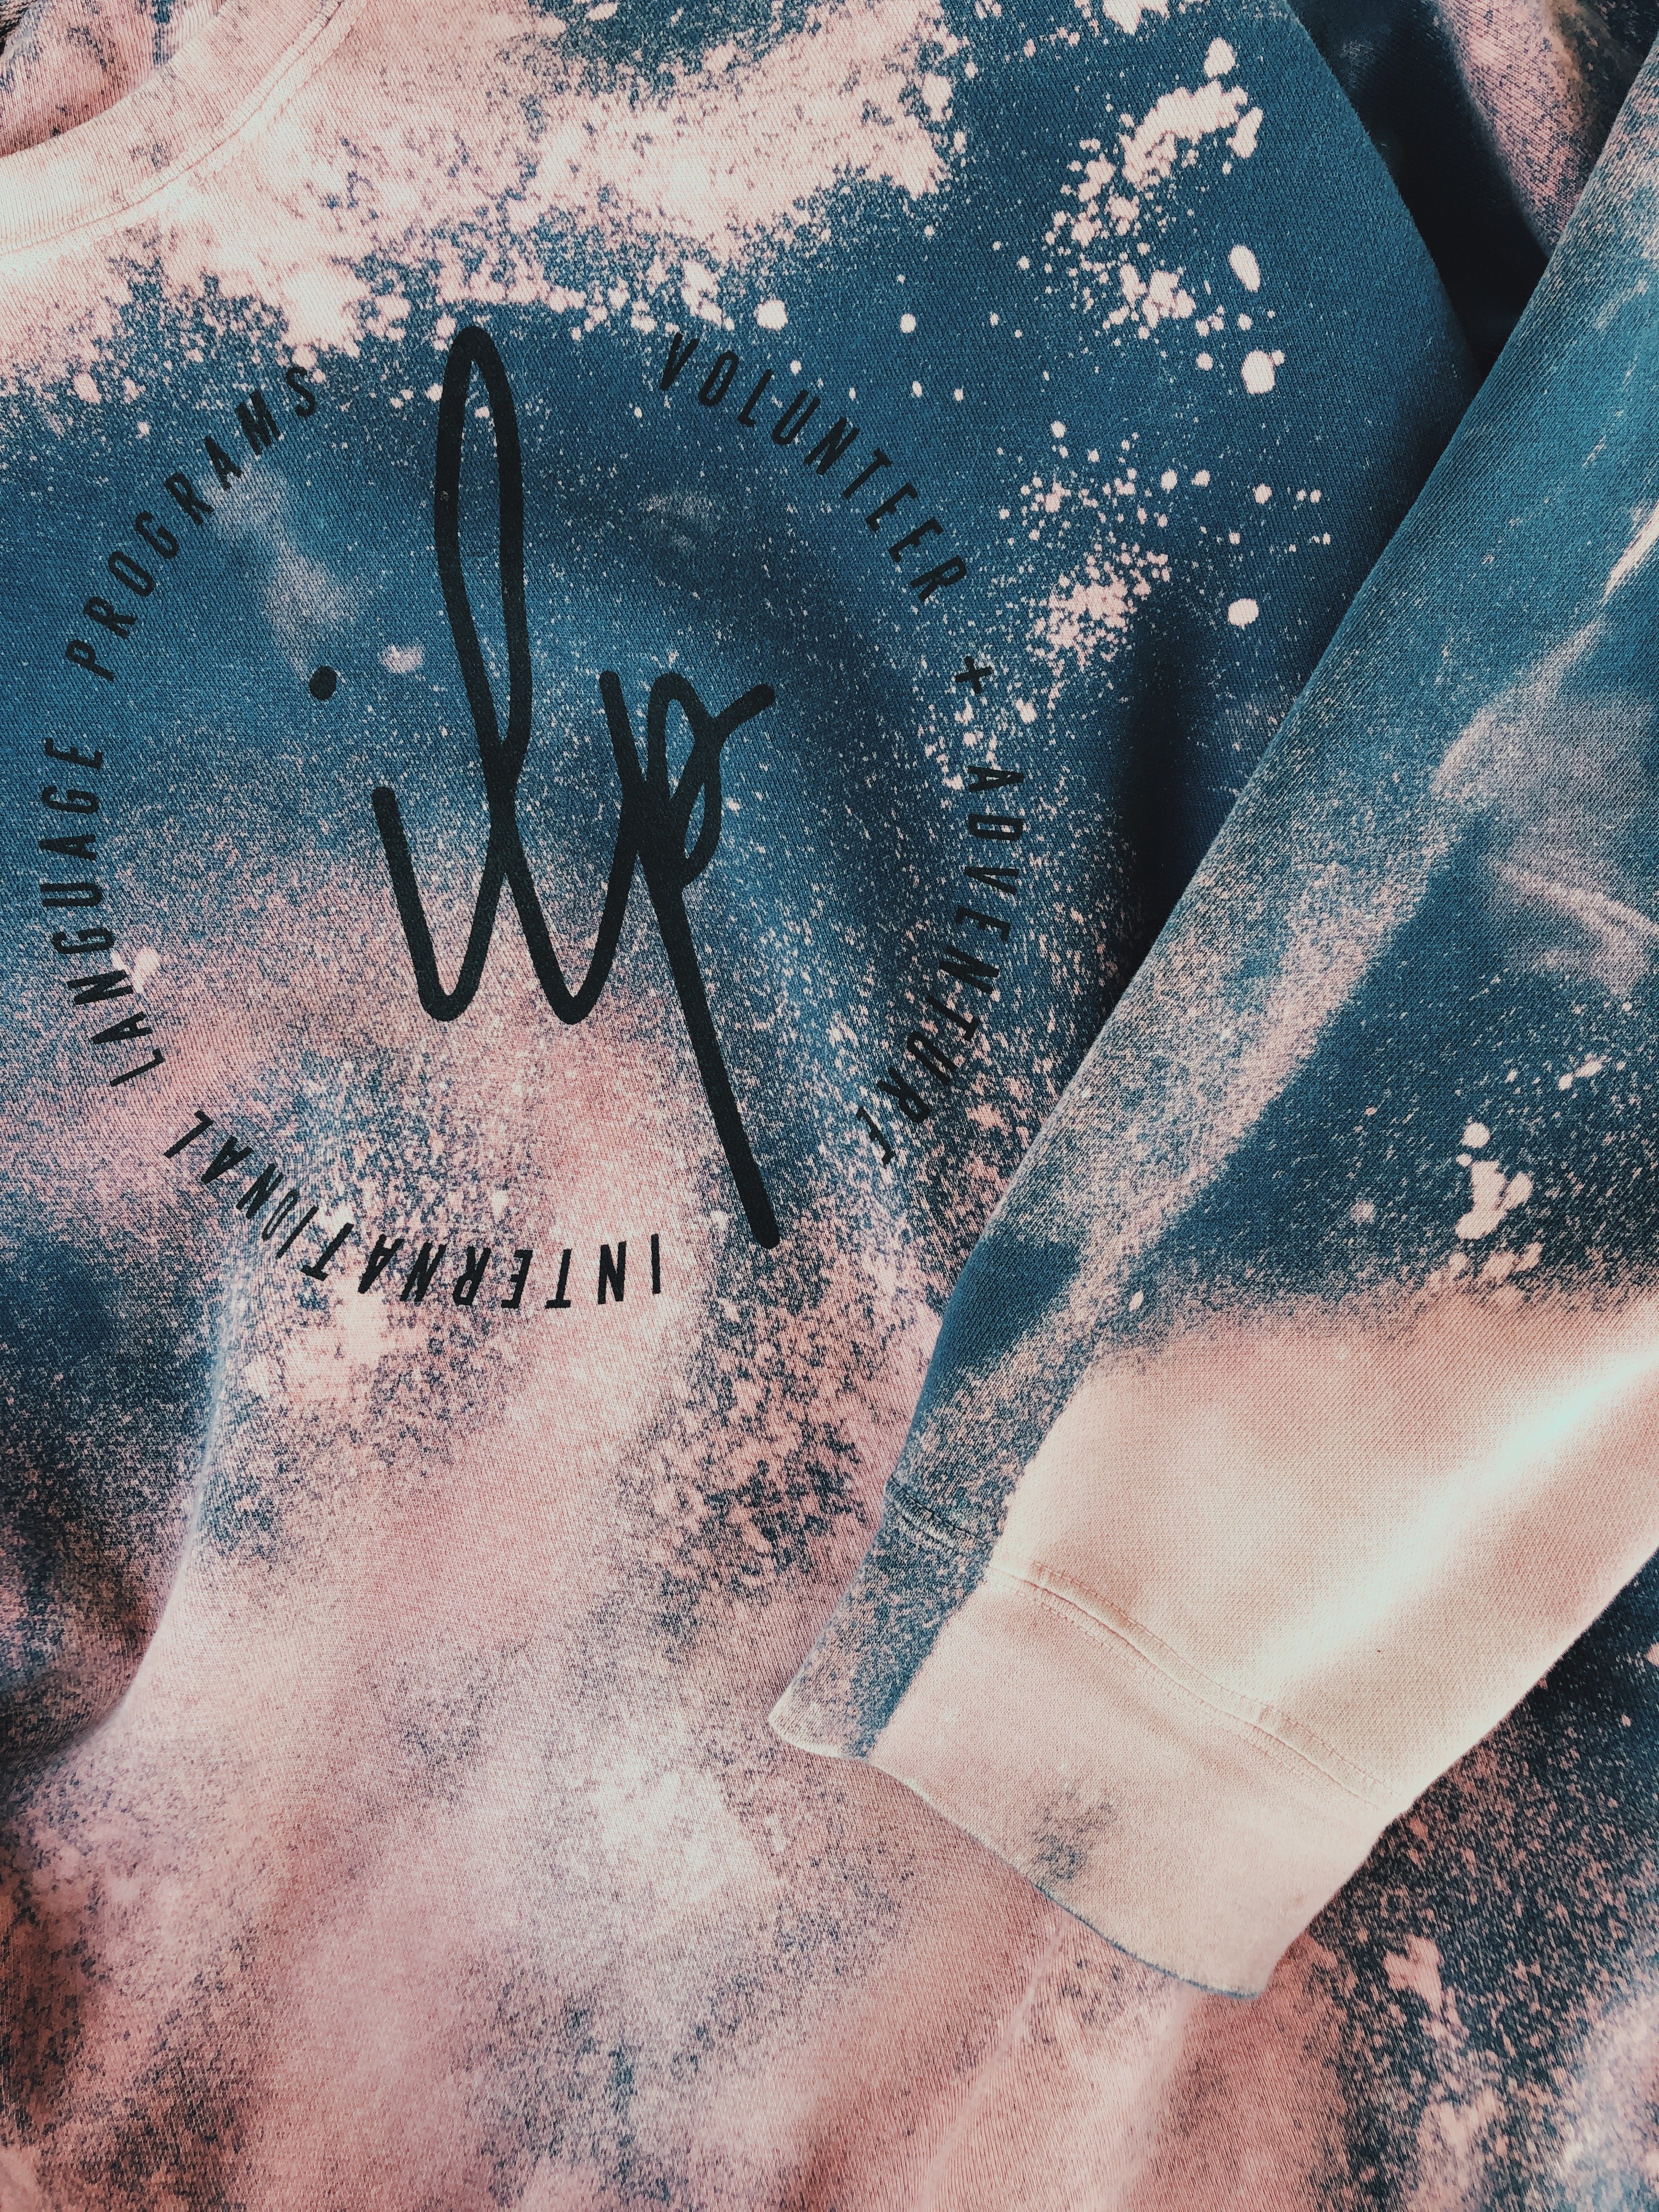
Spray directly onto your sweatshirt and watch the magic happen. The navy ILP sweatshirt responds immediately by turning a purply-pink shade, so this part is pretty fun. I sprayed pretty heavily in every other slice of the pizza that I had created with my rubber bands — I think that's the key to getting a rad end product where it has spaced out bleached spots.
Oh and make sure to also spray down into a deeper level of the sweatshirt too instead of just the top layer. I sort of moved folds of my sweatshirt to the side so I could get the spray bottle in there. Then flip it over and do the same to the other side.
How much should you spray? Again this is pretty random! If you want more bleach, cover a larger area. If you want a really minimal look, spray less. When you open up your sweatshirt you'll be surprised how much of it didn't get sprayed during this step though, so I like to go heavier with the bleach than I think I should here.
Step 4 : Open It Up + Spray Some More
Take the rubber bands off and lay your sweatshirt out flat. There's going to be a lot of areas where you haven't bleached anything yet. If you like that look then you can stop here, but I like adding more. I just sprayed directly onto my sweatshirt as it was laid out in areas where I wanted more bleach. If you spray from further back, you can get some spots that almost look like paint splatter (I'm a huge fan of those!). Or if you get in closer and spray a little more direct, you'll obviously get larger, more fully soaked bleach spots, which I'm also in love with. I think the mixture of both techniques is pretty perfect.
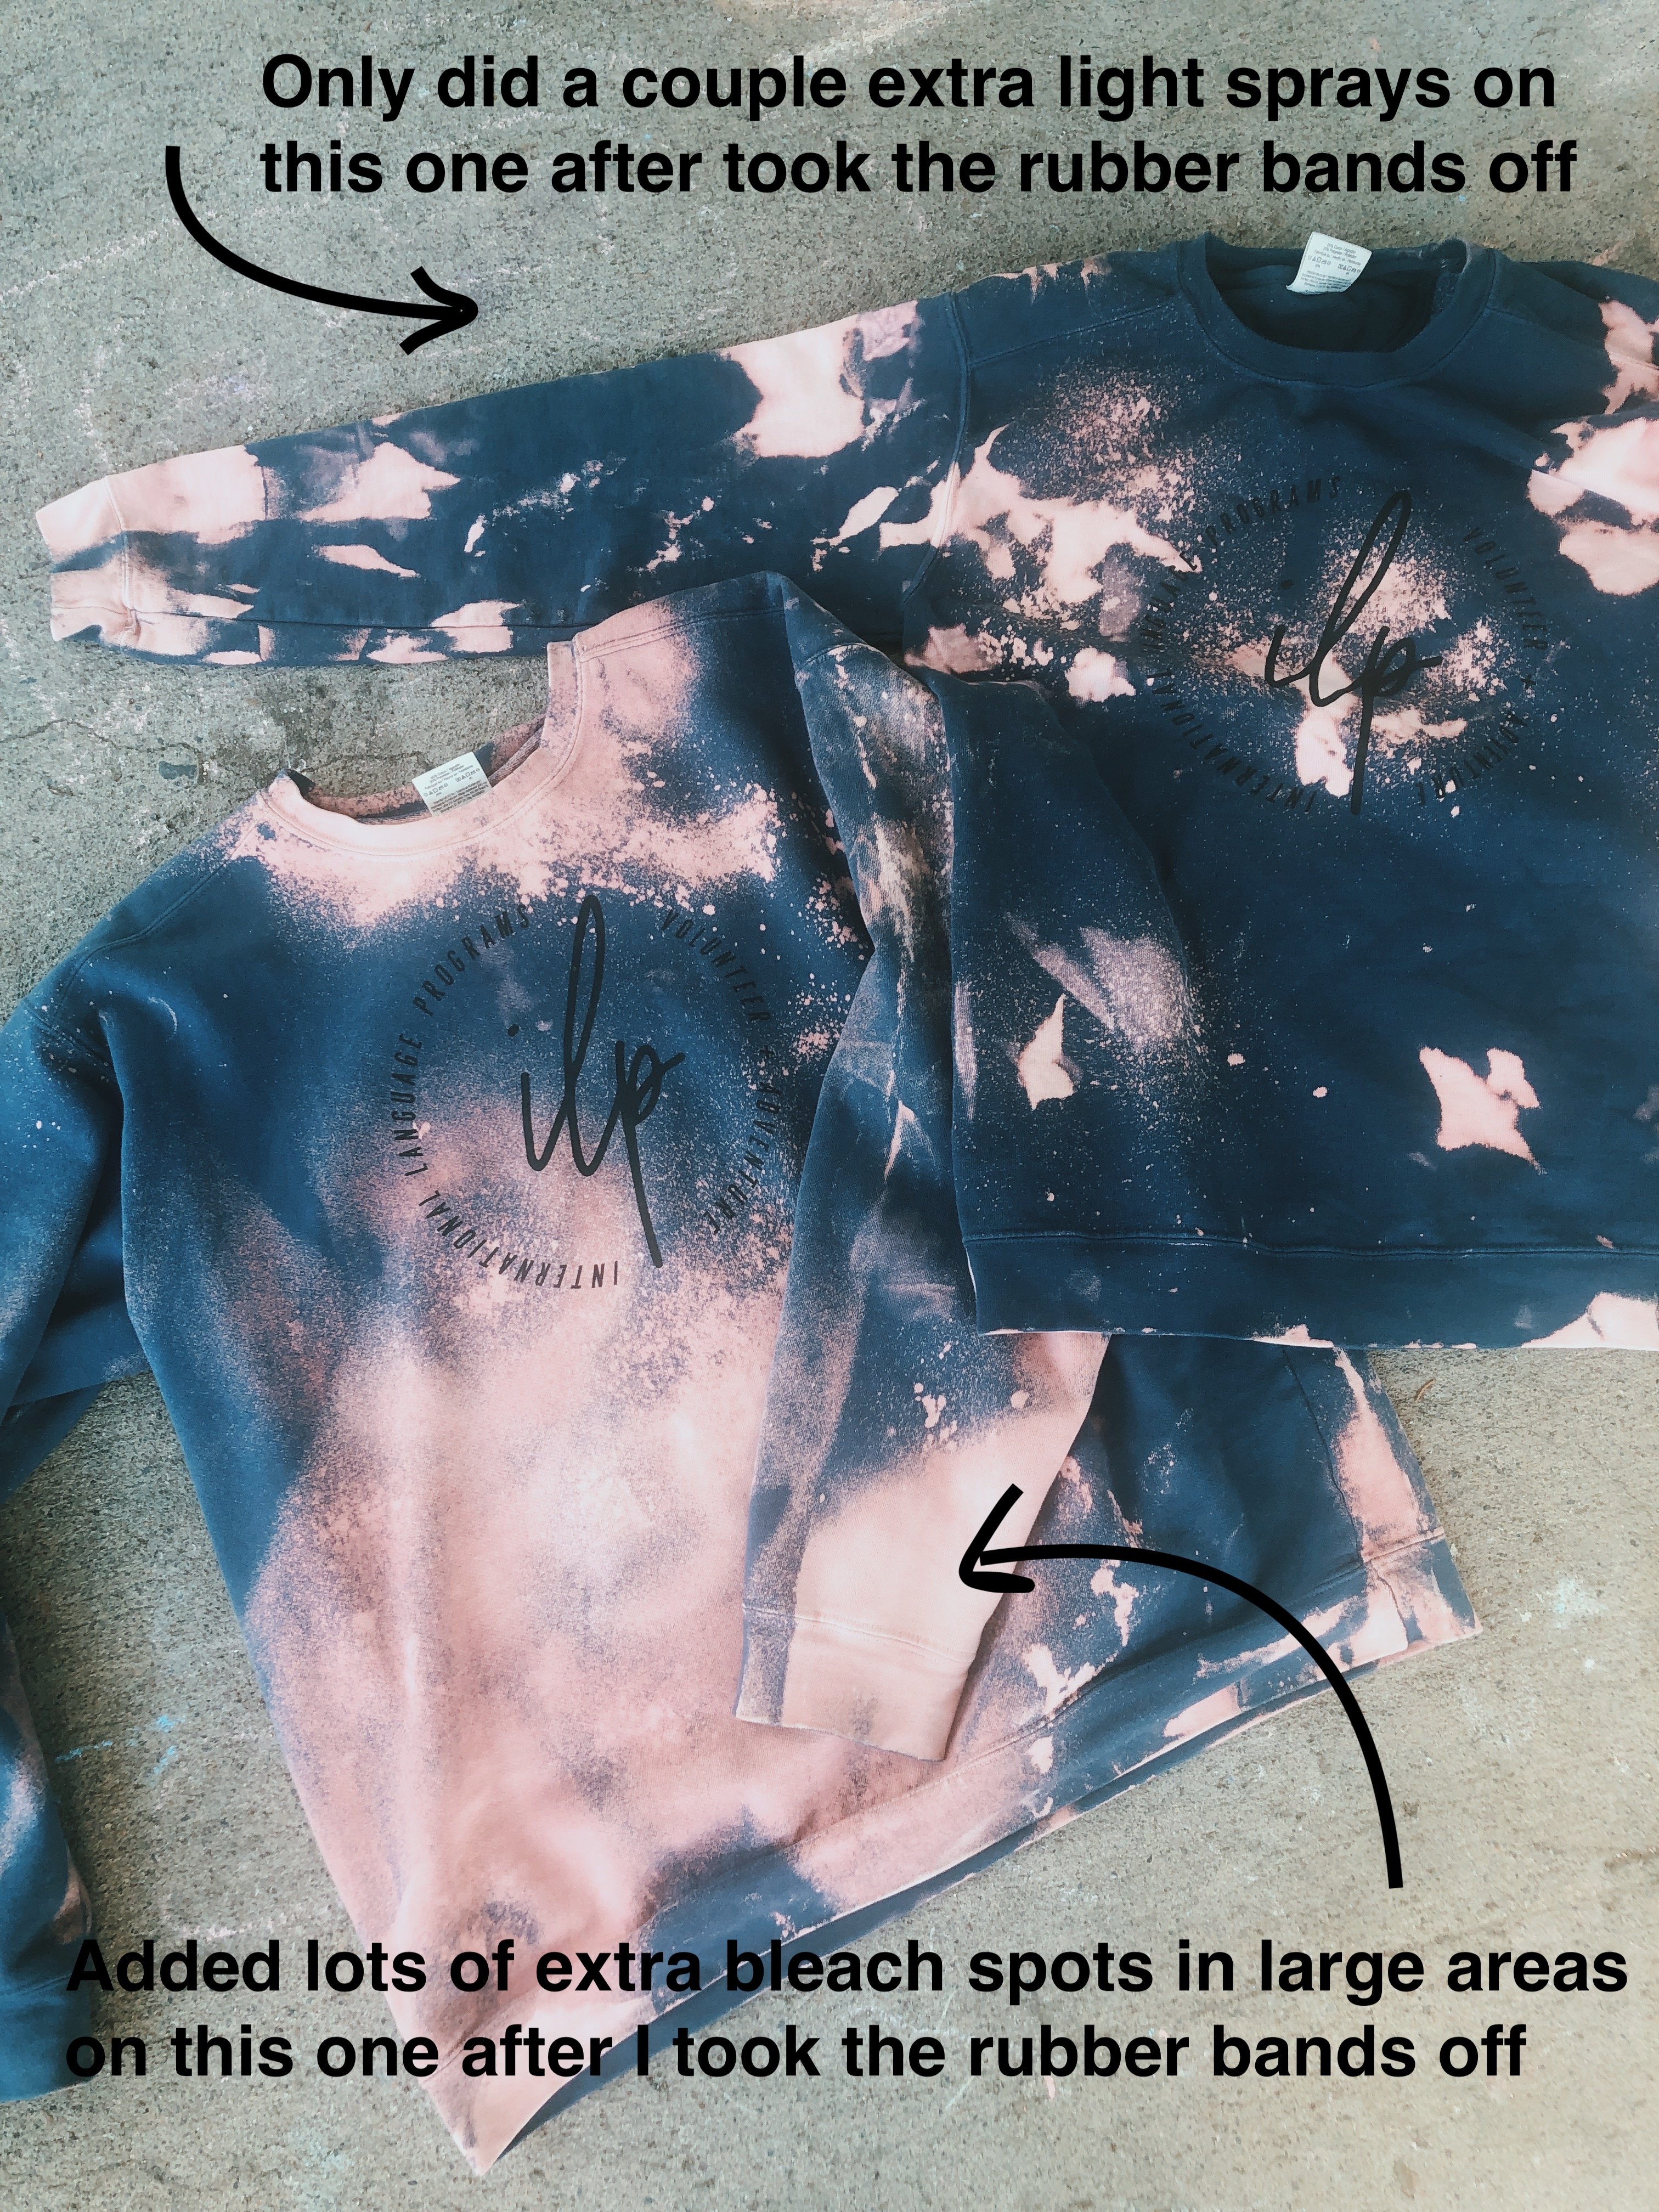
And remember you can always go back in and add more, but you can't take any away. For this one in the video I was pretty minimal with the spraying in this step (it's the one on the right in the picture below), but I did another sweatshirt where I added a lot more heavily bleached sections in this step making more areas bleached than not (the one on the left) and that one is actually my favorite! Just depends on what you like though.
Step 5 : Leave In The Sun + Wash
Now that you've got the bleach spots how you want them, let your sweatshirt sit for at least an hour or so. I laid mine out in the sun and I think that helped some of the pink sections become a bit lighter pink. (The spots get lighter after you wash and dry it too).
Then toss it in the washing machine (on its own or with any other items you bleached). You can put it in the dryer as usual too.
And then wear it. That's it!
Come join us on an ILP adventure!
The sweatshirt if way cooler if you've actually volunteered with ILP right? I kinda love that I get to brag about the fact that I've spent a summer in Thailand and and backpacked around Europe every time someone asks me about the ILP shirt I'm wearing.
And you can too! Learn more about which countries you can volunteer in by clicking that button and start dreaming up the adventures you can have next semester.